Set up company tags
Use company tags to give specific companies access to restricted resources.
Business plan
How company tags work
Company tags let you give specific companies access to restricted resources. Assign a company tag to the company in Shopify, then select that same tag when you restrict access in ResourceHub.
Assign the tag to a company
- In Shopify, go to Customers › Companies and open the company you want to give access to.
- Scroll to the bottom of the company record. Under Blocks, click + Block.
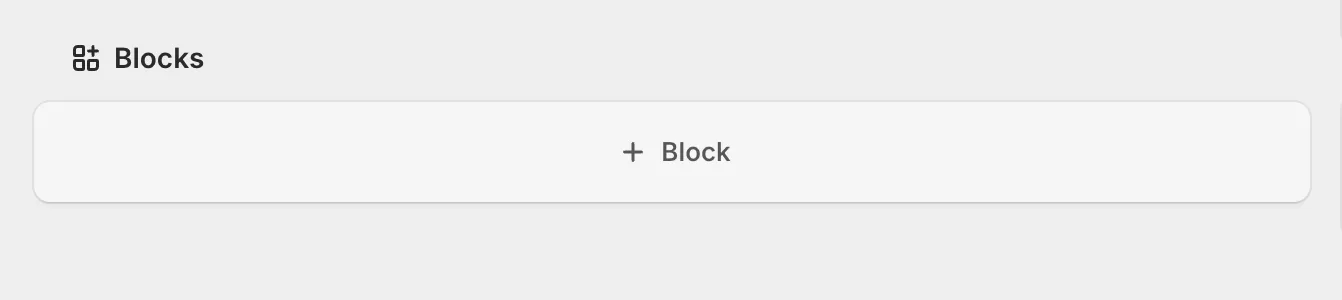
The Blocks area sits at the bottom of the company record.
- Select the Resource Company Tags block with the ResourceHub icon.
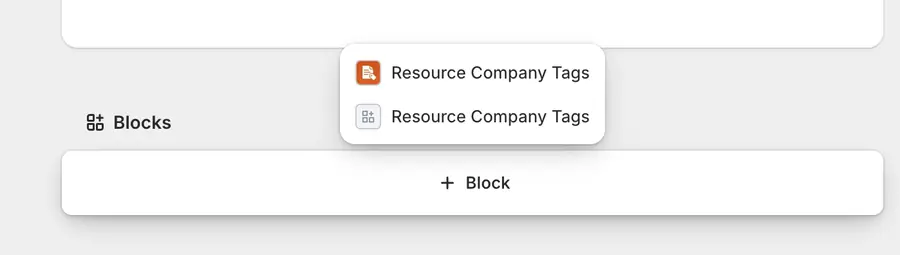
Choose the entry with the orange ResourceHub icon.
- After the block is added, click the pin icon to pin it to the page for all staff.
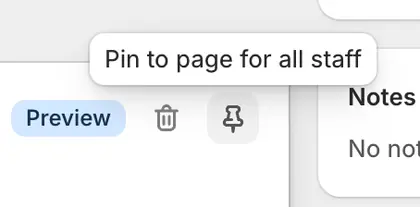
Pinning keeps the block visible for everyone on your team.
- In the ResourceHub Files block, click + Add a company tag, then select or add the company tags you want to assign to this company.
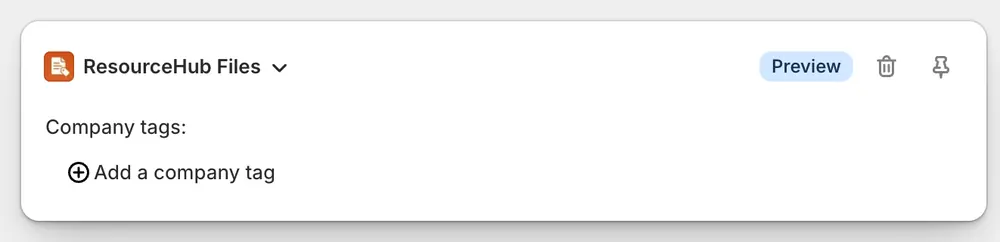
The pinned block on the company record.
Use the tag in ResourceHub
- Go to ResourceHub › Categories and open the category you want to protect.
- Under Visibility, select Restricted.
- Under Company tags, click Add a company tag.
- Select an existing company tag, or enter a new tag and add it.
- Click Save in the company tags dialog, then save the category.
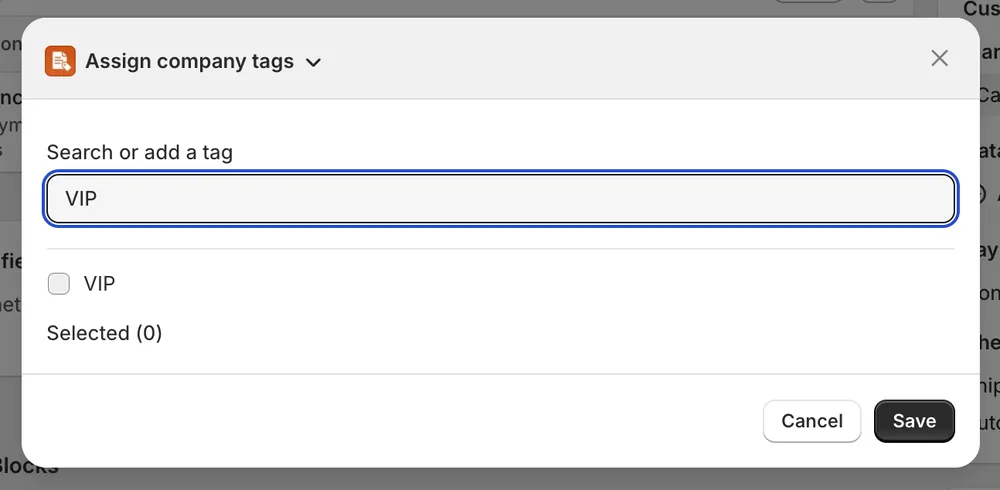
Search for an existing tag or add a new one, then save.