Set up customer tags
Use Shopify customer tags to control access for specific customers.
Business plan
How customer tags work
ResourceHub pulls customer tags from Shopify Customers and uses them to control access to restricted resources.
Add a tag to a customer
- In Shopify, go to Customers.
- Open the customer you want to give access to.
- Under Tags, add the tag you want to use.
- Save the customer.
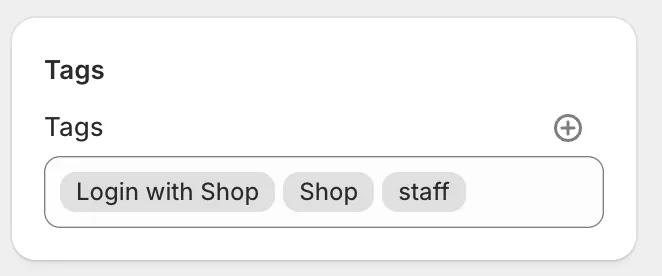
Tags on the Shopify customer record are the tags ResourceHub reads.
How customers get access
Customers sign in using their Shopify customer account. Shopify handles customer login and account creation. ResourceHub checks the signed-in customer and their tags to determine which resources they can access.
You can add a link to your ResourceHub library from your store so customers know where to go.
Use the tag in ResourceHub
- Go to ResourceHub › Categories and open the category you want to protect.
- Under Visibility, select Restricted.
- Under Customer tags, click Add a tag.
- Select the customer tag that should have access.
- Click Done, then save the category.
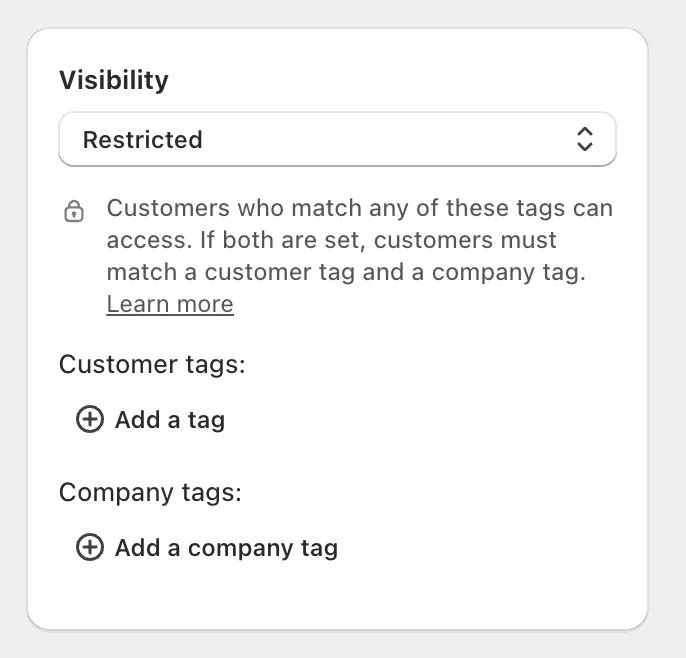
Restricted visibility, with both customer tags and company tags available.
If you use both customer tags and company tags on the same restriction, the customer must match both types of rules.